How to Make the BEST Kale Chips in Your Dehydrator!
Making your own kale chips in your dehydrator will produce the BEST chips!
Fresh kale is in abundance in our gardens, both indoors and outdoors, but my household will only eat so much kale in its fresh form. Making homemade kale chips has been a great way to use what we grow and to provide a healthy snack too.
After a bit of experimenting and trying many different ways, I believe I have found the best way to make consistently good raw kale chips.
Kale Chip Recipes
You have probably seen numerous kale chip recipes online. Most are fairly simple and I have tried many. While kale chips can be made successfully in an oven, I prefer the results when using a dehydrator.
Oven Method Recipes
The first recipes I tried were of the traditional oven method.
These were all variations of the following:
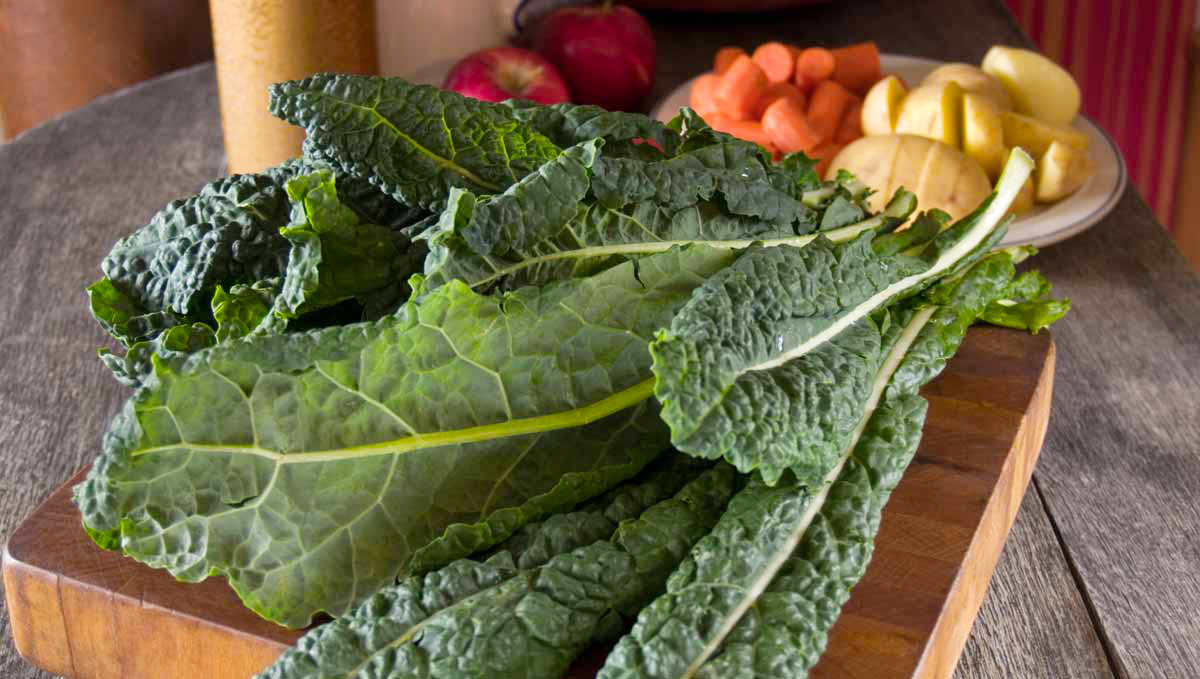
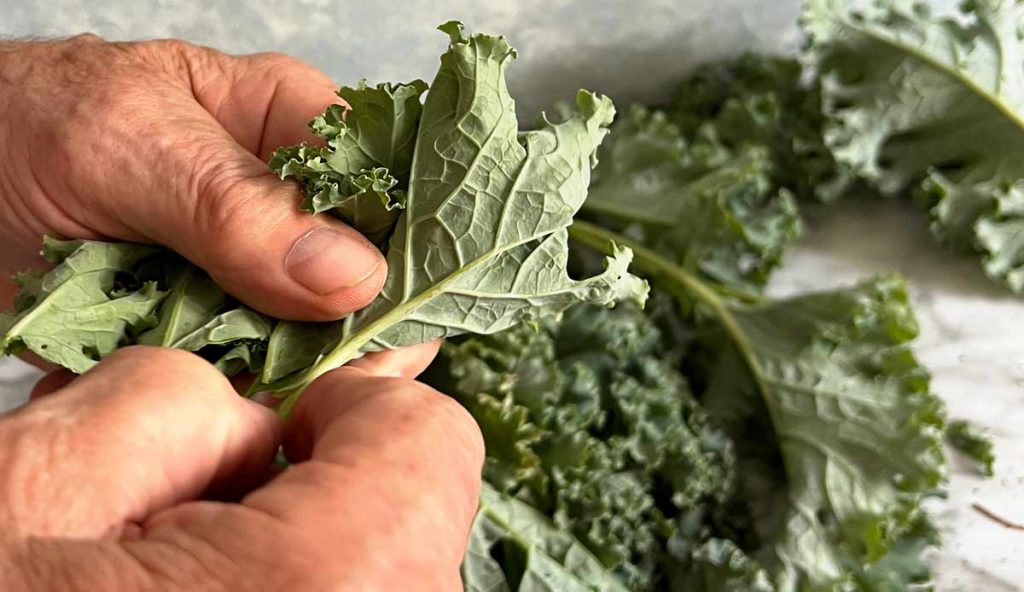
- Sort your kale and strip out the tough midribs and tear the kale into bite size pieces
- Wash and dry the kale, using either paper towels or a salad spinner to dry.
- Place kale in a large bowl
- Add a small amount of oil
- Add a small amount of seasoning
- Mix all together
- Line a baking sheet with parchment paper
- Spread the oiled and seasoned kale leaves in a single layer on the parchment-lined baking sheet.
- Place in a low-temperature oven until the kale chips are dry and crispy.
I tried several versions. Some were seasoned with garlic powder, nutritional yeast flakes or salt. All had oil of some sort to coat the leaves, but the amounts and results varied widely.
While we liked them, there were a few things that could be improved upon.
When using an oven, even at the lowest temperature recommended, the kale leaves go limp before becoming the crispy kale chips you are looking for. While in this limp stage, most oven recipes instruct you to turn the kale over. This sounds easier than it is. At this stage the kale is quite limp and not too cooperative about being turned over.
And then there was the visual appearance. The oven method produced kale chips that were a variety of darker green with brown spots. They tasted fine but were less than appealing visually.
And there was some inconsistency in the texture from one piece of kale to another. Some parts were more crispy than others and yet leaving them in the oven longer would overcook some spots.
My First Dehydrator Recipe
Once I tired of trying the oven method recipes, I decided to search for a dehydrated kale chips recipe.
I have had an Excalibur dehydrator since the early 1980’s, so it only made sense to try a dehydrator method.
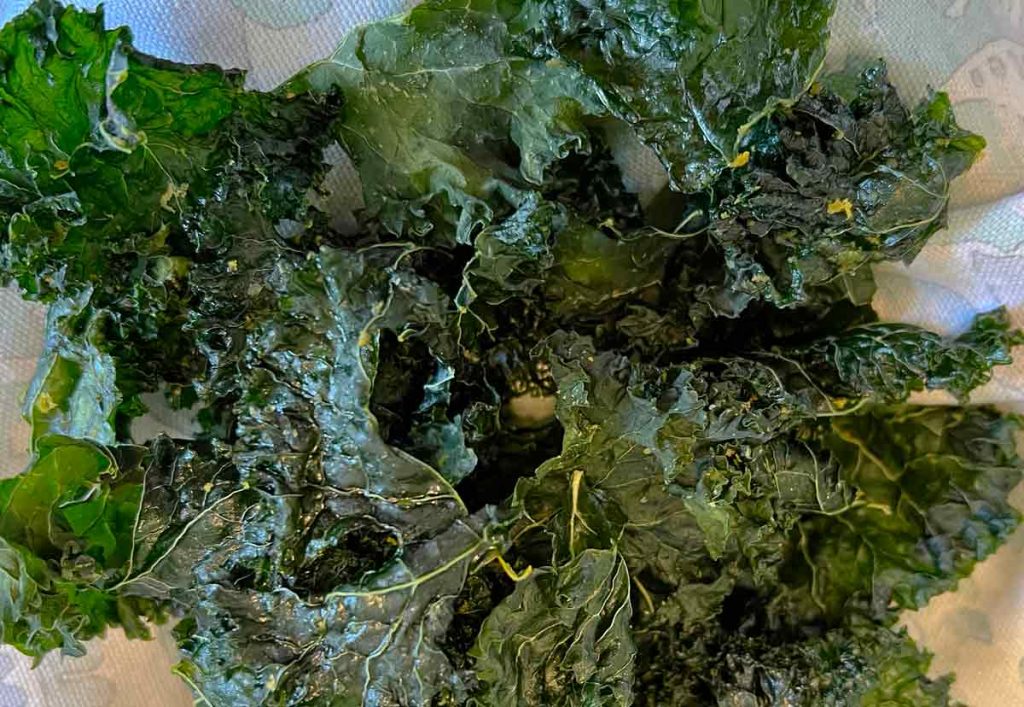
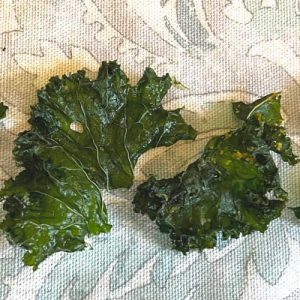
The first dehydrator recipe I tried was instantly an improvement over the oven recipes. The kale retained a much better color. It was still dark green, but a brighter green than the oven method produced. There were no brown spots and the result was truly crunchy kale chips.
I am sure that the improvement in results came from the lower temperature of the food dehydrator. To me, it almost seems like the kale is being cooked when using the oven method which makes me wonder if it is still classified as a true raw food product. And then this brings in the question of nutritional value . . . is it better to use the lower temperatures of the food dehydrator?

The initial preparation was essentially the same as for the oven method, except after you coat and season the kale, you move it to the dehydrator trays rather than a baking sheet.
Dehydrator Kale Chips – My Version
I was fortunate to grow up in a family that used a recipe as a starting point and then experimented from there. I really never knew any other way.
- Out of one ingredient? What else can I use?
- Have a limited quantity of a needed ingredient? What can I adjust?
- Don’t quite like the flavor or texture? What can I change next time?
While I have been experimenting and taste testing several variations, the final favorite way came about because I did not have enough fresh kale to follow one of the regular recipes. Most of the recipes online call for 8 – 16 ounces of fresh kale.
On one particular occasion, I had just a few ounces. We grow kale in our indoor Gardyn system. It was our first, small harvest from the indoor system, but I wanted to try making chips out of it.
Our Final Delicious Recipes
What did I change from the different recipes I had tried previously?
Instead of pouring a few tablespoons of oil on the kale, I decided to try spraying the kale with oil instead. It was perfect! I placed the raw kale in a large zip-top bag (or you could use a large covered bowl) and sprayed it with avocado oil spray and then shook it to distribute the oil. We prefer avocado oil, but olive oil works well too.
My first attempt with this method was totally successful! The kale chips were seasoned with garlic powder and salt. The next attempt was with nutritional yeast, which gives a slightly cheesy flavor.
How much nutritional yeast or garlic powder or salt you use is up to you. Or get adventurous and add any other seasonings you like.
Think about trying:
- crushed red pepper
- sriracha
- ranch seasoning
- onion powder
- dried dill
As long as your seasoning is in a powdered form, it will stick to the oil-coated leaves.
Equipment
- Dehydrator – See Notes for More Information
- Colander
- Gallon size storage bag or large mixing bowl with a cover
Ingredients
- 1 lb raw kale leaves
- 1-2 tbsp avocado oil spray
- seasonings as desired
Instructions
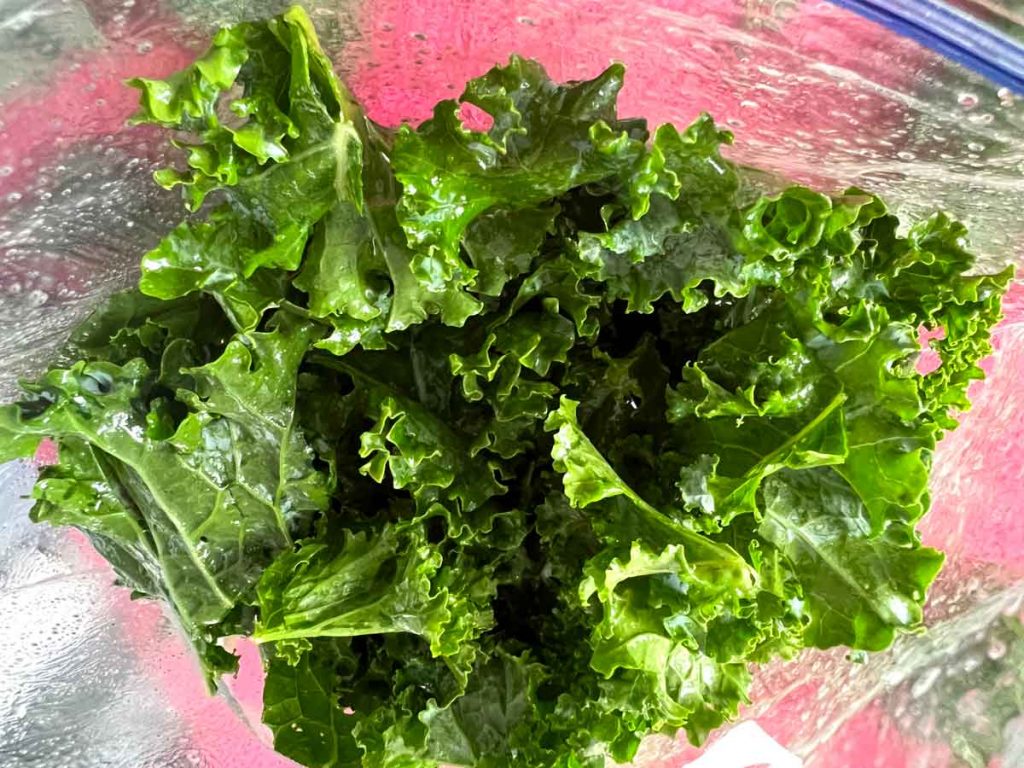
- Wash and dry raw kale thoroughly.
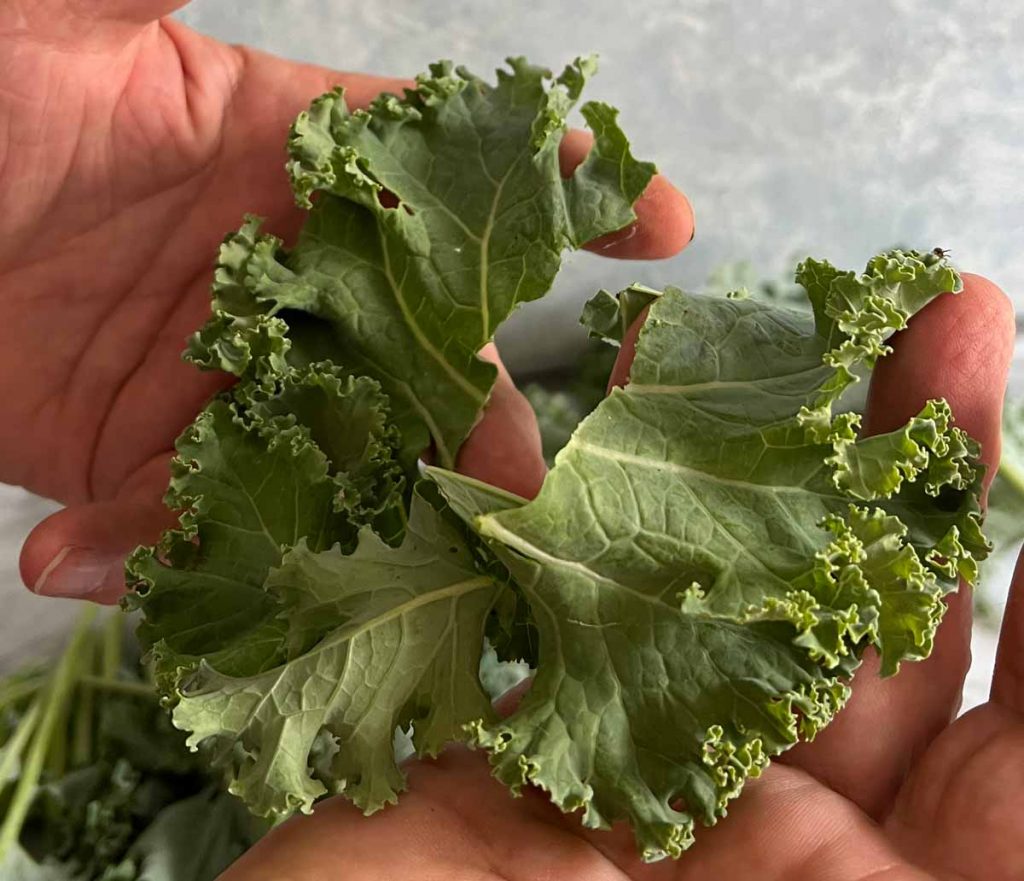
- Remove center rib from leaves. Tear leaves into pieces of about 2 – 3 inches.
- Put a few handfuls in either a large mixing bowl or gallon-size storage bag.
- Spray lightly with the avocado oil.
- Shake to distribute the oil until leaves are coated. Add more oil and repeat if necessary.
- Add seasonings and shake again to distribute evenly.
- Continue in small batches until all leaves are evenly coated and seasoned.
- Transfer coated kale leaves to dehydrator trays. Do not allow leaves to overlap.
- Dry for about 6 hours at 115 degrees. Time may need to be adjusted based on your dehydrator and environment. When leaves are fully dry they will be very crisp.
- Store in airtight contianers. I use large canning jars for long term storage and large zipper bags for short term storage containers.
Notes
Nutrition label is calculated by automated third-party services. The nutritional information provided here is an estimate only, for informational purposes only, and can vary depending on the specific ingredients, preparation and accuracy of the third-party system used for calculations. It is always best practice to confirm the nutritional calculations, especially if nutritional information is critical to your diet plan.
What Kind of Kale Should I Use?
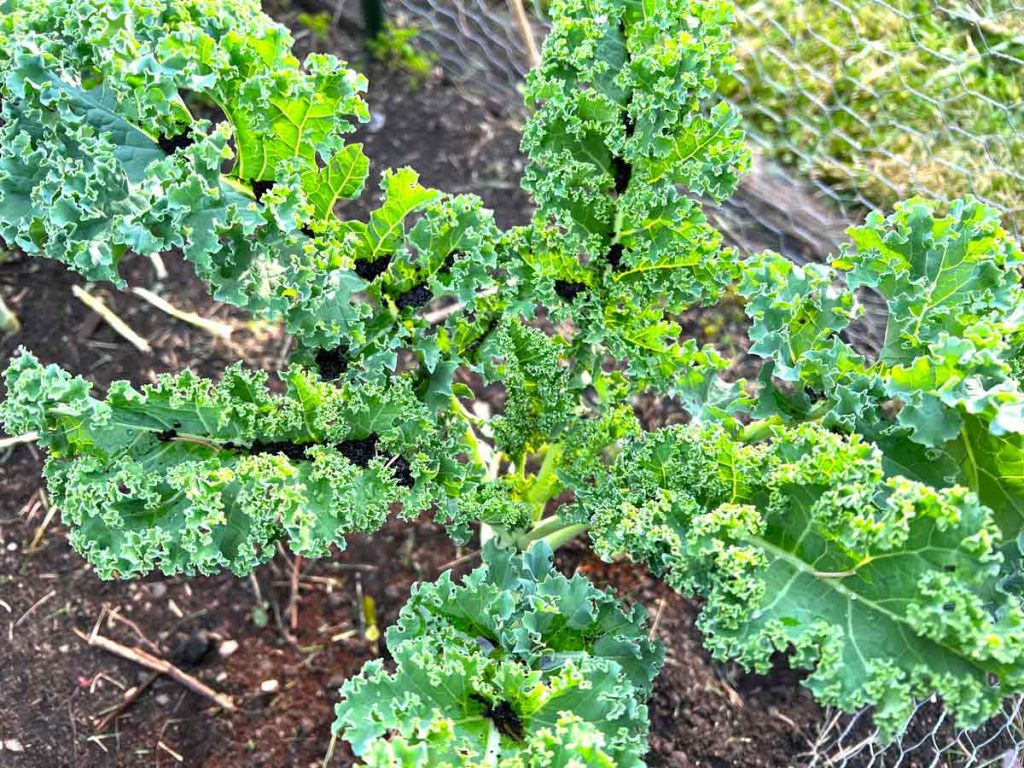
Kale is readily available in most grocery stores now. You can purchase it as a bunch of kale in the fresh produce section of your grocery store. Or, you may prefer to grow your own. If you have never grown kale, be forewarned. It grows like a weed once established. It is very easy to grow!

There are 3 main varieties available. They are curly kale, lacinato kale and dinosaur kale. They all work well for making kale chips. Many people prefer more mature leaves since they will make a more substantial chip. I often use baby kale and leave the midrib in. It is a personal choice.
I Grew Too Much Kale – Now What???
f you have ever grown kale, you may realize that you can suddenly have too much on hand.
One of the best ways to deal with it is to dehydrate the fresh leaves. They can then be crushed or powdered and then be added to smoothies or soups.
Storing Dry Kale
Dried kale, whether chips or plain, should be stored in an airtight container. The best practice for all dehydrated foods is to store them in small airtight containers, so only a limited amount of your food is exposed to the air. They should also be stored away from light and heat.
Depending on what dehydrated food I am storing and how quickly I expect it to be used. For kale chips that I expect to be consumed in a few days to a week, freezer-weight zip lock bags are fine. For longer-term storage, I prefer glass canning jars.


One Comment